

I have been using LastPass for password management since like forever.
I became a paid customer in 2014. It was initially $1/month. Then it got hiked to $2/month and currently it stands at $3/month. That’s $36/year which was working out too much for me.
Furthermore, the free option is limited to a single type of device. Since I wanted to use it across desktops and mobiles, there was no option except for the $3/month plan.
I had been looking at bitwarden for quite some time now but read that it’s too resource heavy. I then came to know of biwarden_rs which is a rewrite of bitwarden in Rust and compatible with upstream Bitwarden clients. I had then forgotten about this for some time until I head the news of it being renamed to vaultwarden via a Reddit thread.
I decided to install it via Docker as it seemed the easiest thing to do. I also wanted to run the alpine image since that was the most light-weight image.
docker
Pull the alpine docker image
docker pull vaultwarden/server:alpine
By default, the container runs using the SQLite database, which suits me just fine!
Ensure that volumes and ports are mapped correctly and issue the run docker command.
docker run -d --name vaultwarden -v /vw-data/:/data/ -p 8080:80 vaultwarden/server:alpine
I mapped the port 8080 of the vaultwarden server to port 80 of the container since I wanted it to route it via Nginx to take advantage of the SSL that I had already set up there.
nginx
Nginx configuration
server {
  listen 443 ssl;
  listen [::]:443 ssl;

  server_name vault.<your-domain>;

  access_log /var/log/nginx/vaultwarden_access.log;
  error_log /var/log/nginx/vaultwarden_error.log;

  gzip on;
  gzip_types      text/plain application/xml;
  gzip_proxied    no-cache no-store private expired auth;
  gzip_min_length 1000;

  ssl_certificate <path to ssl cert>;
  ssl_certificate_key <path to ssl key>;

  location / {
    proxy_pass http://127.0.0.1:8144;
    proxy_set_header Upgrade $http_upgrade;
    proxy_set_header Connection "upgrade";
    proxy_set_header Host $http_host;
    proxy_set_header X-Real-IP $remote_addr;
    proxy_set_header X-Forwarded-For $proxy_add_x_forwarded_for;
    proxy_set_header X-Forwarded-Host $server_name;
    proxy_set_header X-Forwarded-Proto https;
    proxy_connect_timeout 2400;
    proxy_read_timeout 2400;
    proxy_send_timeout 2400;
  }

  location /notifications/hub/negotiate {
    proxy_pass http://127.0.0.1:8144;
    proxy_set_header Upgrade $http_upgrade;
    proxy_set_header Connection "upgrade";
    proxy_set_header Host $http_host;
    proxy_set_header X-Real-IP $remote_addr;
    proxy_set_header X-Forwarded-For $proxy_add_x_forwarded_for;
    proxy_set_header X-Forwarded-Host $server_name;
    proxy_set_header X-Forwarded-Proto https;
    proxy_connect_timeout 2400;
    proxy_read_timeout 2400;
    proxy_send_timeout 2400;
  }

  location /notifications/hub {
    proxy_pass http://127.0.0.1:3012;
    proxy_set_header Upgrade $http_upgrade;
    proxy_set_header Connection "upgrade";
    }

    # These "harden" your security
    add_header 'Access-Control-Allow-Origin' "*";
}


server {
  listen 80;
  listen [::]:80;

  server_name vault.<your-domain>;

  if ($host = vault.<your-domain>) {
    return 301 https://$host$request_uri;
  }

  return 404;
}
After checking everything using nginx -t, I reloaded nginx using nginx -s reload command. And going to the URL I was presented with this page.
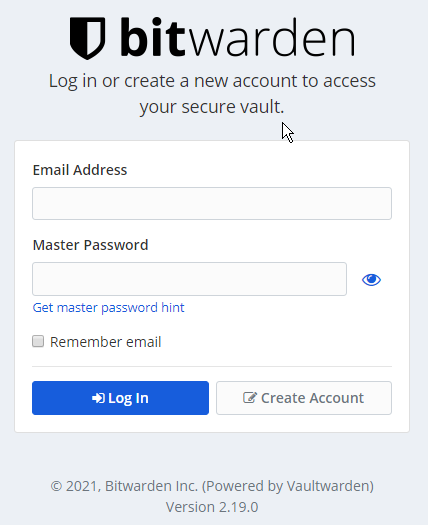
So, I created an account and was set.
other considerations
But then I thought – if I could create an account, then anybody could! So, going back to the docs, I noticed that there were two other options that I need to run the container with –
SIGNUPS_ALLOWED=false and INVITATIONS_ALLOWED=false. With these two options, nobody else can create an account. Also, people invited to your application, cannot in turn invite others.
admin page
One drawback of disallowing invitations is that even the owner cannot invite another user. For this, the admin page needs to be enabled.
From the docs, this needs an extra configuration option to the docker run command.
docker command
Since I had rerun the docker command again with additional configuration options, I need to stop and remove the running container and start a fresh container (from the earlier pulled image) with the new configuration.
To stop the container, get it’s id using docker ps
CONTAINER ID   IMAGE          COMMAND                  CREATED
9de22df311c4   vaultwarden    "/usr/bin/dumb-init …"   2 seconds ago
and stop it using docker stop <contaienr id> which in my case was 9de2
Once stopped, the container also needs to be removed completely using docker rm -rf <container id>
Now, the final docker run command becomes –
docker run -d --name vaultwarden \
    -e ADMIN_TOKEN=some_long_random_string \
    -e SIGNUPS_ALLOWED=false \
    -e INVITATIONS_ALLOWED=false \
    -v /vw-data/:/data/ \
    -p 8080:80 vaultwarden/server:alpine
Make sure that the some_long_random_string is not something that could be guessed easliy!
browser extensions
The next step was to download the corresponding browser extensions from the bitwarden download page and login individually.
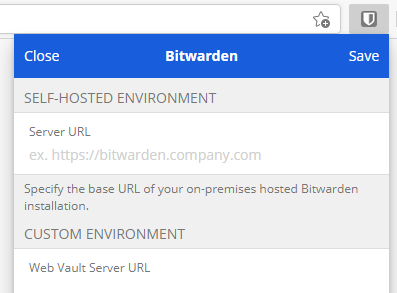
Once the browser extension has been added, we need to point it to our server. So, click on the extension, click on the Settings icon on top left and enter your server URL under the heading Self-Hosted Environment.
two factor authentication
Additionally, we can add a multi-factor authentication via authentication apps from the Settings > Two-step Login.

Finally, the only step remaining was to export all the passwords out of LastPass and import them into Vaultwarden. This is available under Tools > Import Data
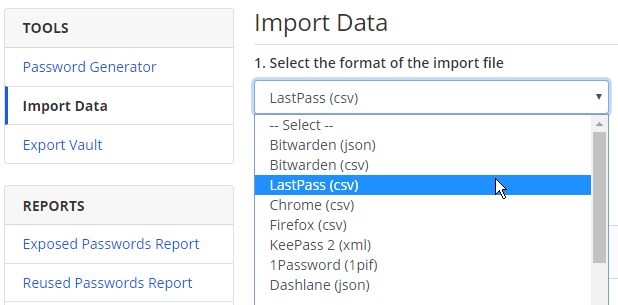
All done.
Another advantage I get with Vaultwarden / Bitwarden is that I can add an Organization and share passwords across with others if required. There is also the option to hide the passwords from those the credentials have been shared with. This option is there in LastPass too but they charge another $1/month for it.